
Are you one of those people who doesn't like their own handwriting? Wish it looked a little more fancy? A simple template and some transfer paper can help you achieve that look!
In this step-by-step guide, I'll share with you how to transfer text onto wood. Using carbon paper is a popular method for pyrographers but if you're new to pyrography, this could spark some new ideas and prevent you making the same mistakes I made when I first started using it!
Scroll to the bottom of this page to watch my YouTube tutorial.
Full disclosure: There are some affiliate links within this how-to guide. This means that if you buy something through one of my links, I will earn a very small commission in return for the effort it took to curate and share this information with you. It won't cost you anything extra, it just helps me create more content to share my knowledge with you, so thank you in advance! All the links included in this guide will redirect you to a page where you can purchase the products I have personally used and would recommend.
For this project, you'll need:
- A wood blank
- Abranet sanding sheets, ideally 240grit, 320grit, 400grit and 600grit
- Saral Blue Transfer Paper
- A printed document with the text of your choice
- A pen that is a different colour to your print out
- Washi or masking tape
- Pyrography pen
- Rubber
Nice to haves:
- A sanding block
- Ruler
Wood Preparation.
First things first, you need to prepare the surface you're working on. This makes the burning process so much smoother and more enjoyable!
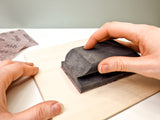
- Start with a coarse sheet of Abranet or sandpaper. I start with 240grit. The lower the number, the coarser the sanding paper. As the number increases, the grit is much finer.
- Sand in the same direction as the grain of the wood. Try to avoid going it against it as it creates scratches.
- Once you feel like you've sanded enough, move up a grit and sand again. I use 320grit, then 400grit and finish with 600grit.
- When the wood feels smooth, sand it again! Trust me, you're helping your future self!


Text Preparation.
I like to use Procreate on my iPad to create my templates, but you can use any software you have. In this example, I have used a standard font but you can go as fancy as you like! You can even take a photograph of someone's handwriting, print it off and use that as a template to give a piece a more personal touch.
- Size your file to the same size of the wood.
- Enter the text you want to transfer to the wood and select your chosen font.
- Adjust the font size until you're happy with the layout.
- Then print!
Transferring Your Text to Wood.
This is where the magic happens, if you have the transfer paper the right way round! Quite frustrating if not, it's an easy error to make, so look out!
- Prepare some small pieces of tape that will hold your printed document in place. I'd recommend washi tape as it won't leave much residue on your wood. Alternatively, you can use masking tape that you may be able to see through if your text is printed right up to the edge. Keep these pieces of tape to one side, within easy reach.
- Lay your printed document of text on top of the wood. Using your ruler, measure it up if you're wanting something central, or just experiment until you think it looks right! When you think you're happy with the placement, tape it into place.
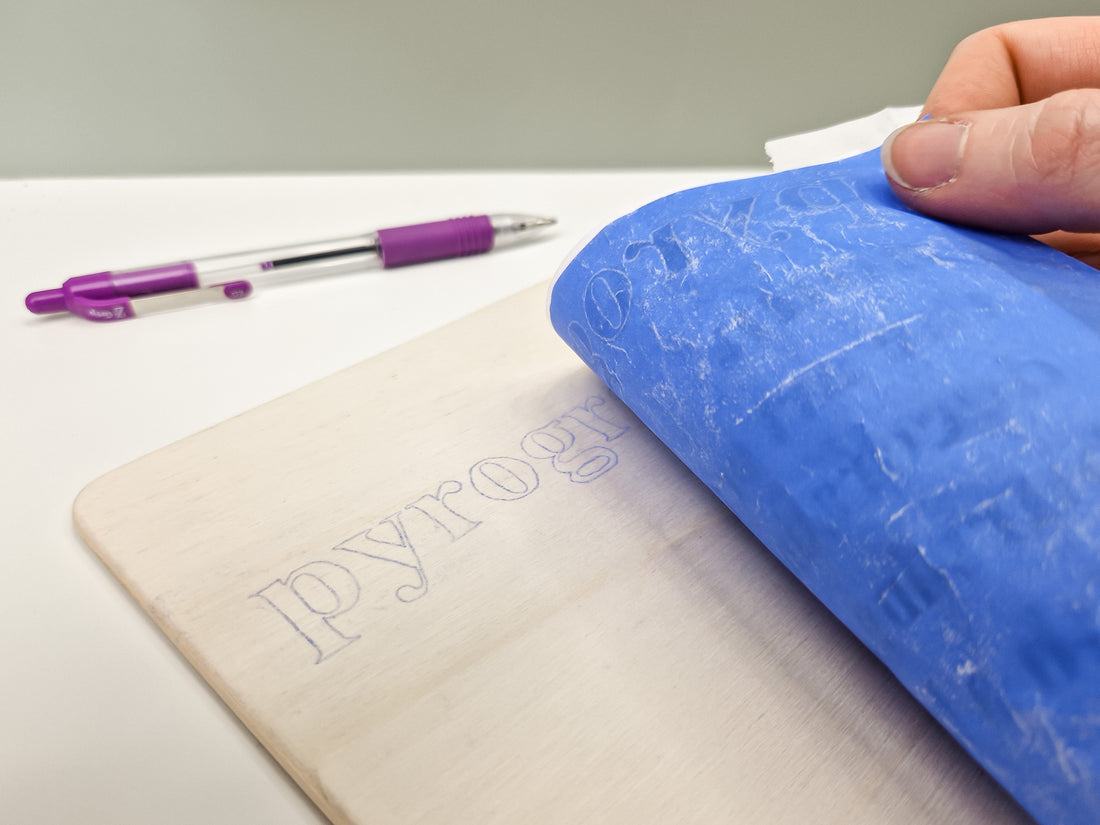
- Now, be careful - this bit can be tricky! Grab a piece of transfer paper and lay the dark side down, facing the wood. Gently remove a piece of the tape that's holding your template down, and slide the transfer paper underneath your text template.
- Once your transfer paper is underneath your template, grab a pen and follow the lines on your template. I find it easier to use a pen that is a different colour to the printed text so you can see which parts you've done.
- If you can, take a sneak peek to see if the transfer has worked. You only need to press lightly for the blue to show, but if it's too faint, try applying a little bit more pressure. You don't want to draw over the whole template before realising the transfer paper was the wrong way up (I speak from experience!)
- Take your time drawing over the lines and try to be as accurate as possible.


And there we have it! Once you've completed this step, you can start to burn - happy burning!
Handy Good to Knows
- Remember, dark side down!
- You don't have to press hard when using carbon paper. The fainter the line, the easier it will be to erase afterwards.
- If you make a mistake, you can erase the blue lines using a standard rubber.
- You can reuse carbon paper, you're not limited to a one time use. You'll know when you need a new piece, that's why it's always best to check it's transferred to the wood as you're doing it!
- Graphite paper can be used in the same way but it will create black lines rather than blue, which can sometimes be hard to differentiate between what you've burned and what you haven't burned yet (so frustrating when you erase some of the design you've missed!)
- To burn text, you can use any pyrography tip you like, although I would recommend a ball point tip as it feels more like a writing pen to me personally.
Watch my YouTube tutorial:
If you've found this article helpful or have any questions, please leave a comment below.